Where do you write your content?
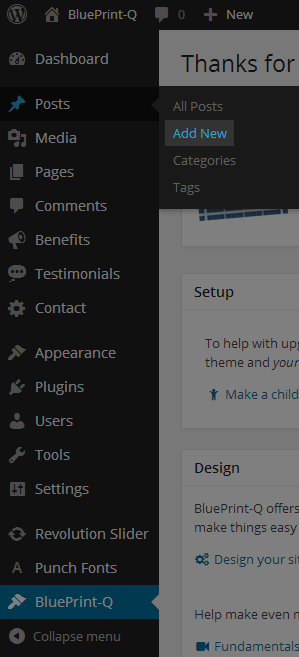
Posts are your primary method of getting major content on your site. As you add posts, they will appear on your archive page in chronological order, starting with the most recent. To start, go to the Admin Panel and click Posts >> Add New.
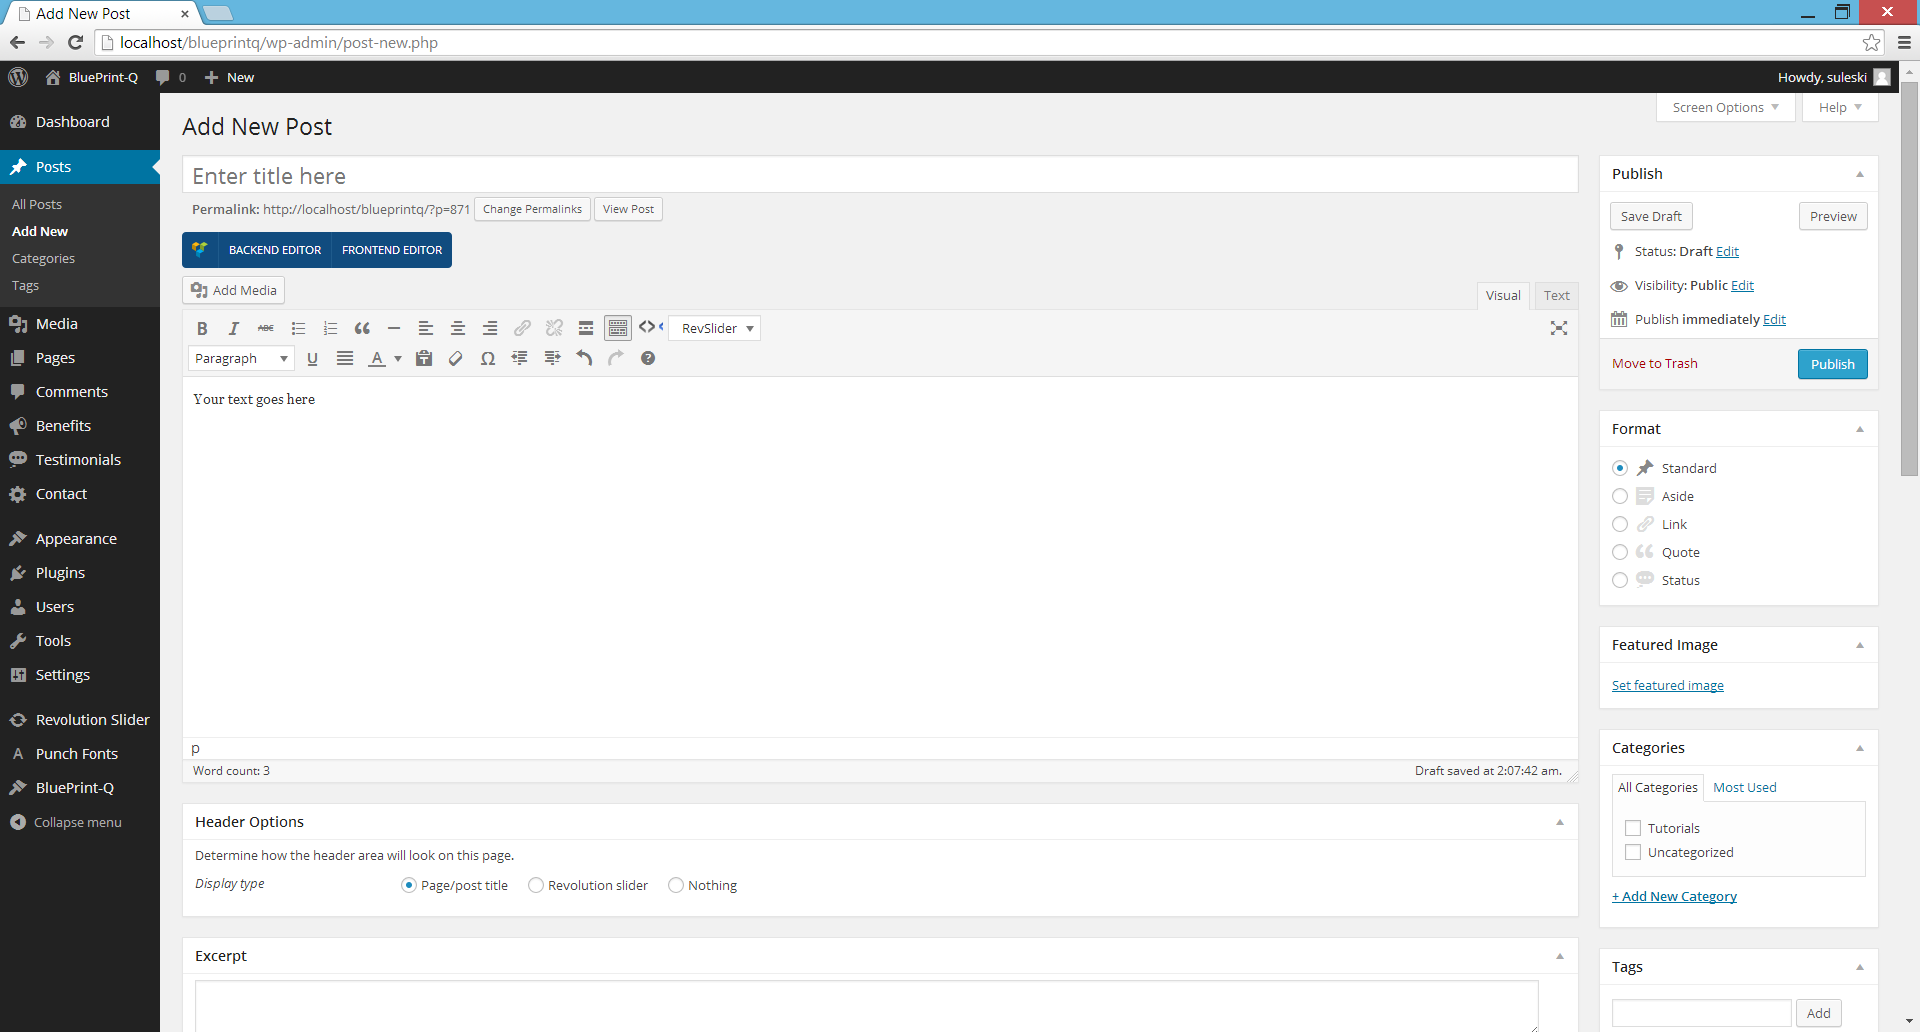
There’s too much on this screen, what do I do next?
Title
In the upper-left corner, add a title for your post. This title is typically displayed more prominently to the user than any other information about this post.
Content
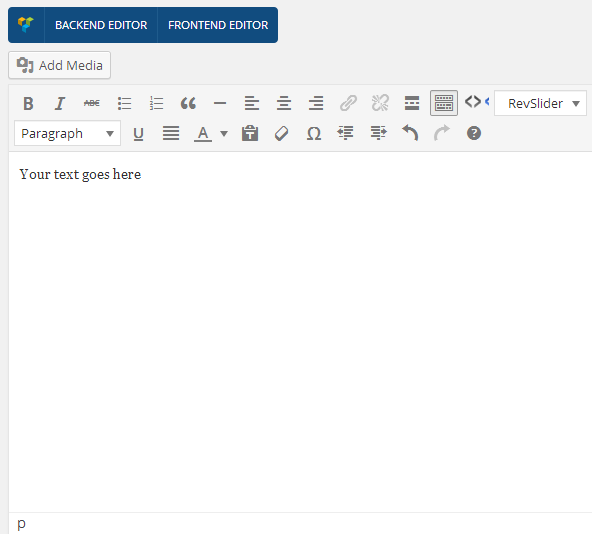
Here is where you can add as much content as you desire. Maybe you are writing a book? Or maybe this is a tutorial (like this one) and you want to add some images. Do that all here in the content area. Add images, videos, music, and other kinds of attachments with the ‘Add Media’ button at the top.
For BluePrint-Q Premium Edition users, you will notice large blue buttons at the top – ‘Backend Editor’ and ‘Frontend Editor’. These come with Visual Composer and help by extending the kinds of display elements you can use as well as making laying out content super easy with drag and drop capabilities.
Format
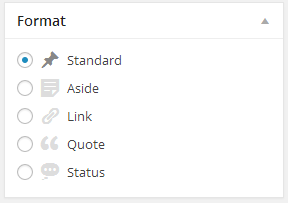
These options give a slight twist to how the post is displayed to your visitors. Coupled with the BluePrint-Q tones, you have a number of different visuals.
Header Options
You can alter the way that the post looks to your visitors. For example, you could hide the title if you really do not want to show it. Or, if you have BluePrint-Q Premium Edition, you could add a gorgeous slider to the top, making your post super exciting and inviting. If you are creating a marketing site, you will not get by without BluePrint-Q Premium Edition and the Revolution Slider.
Featured Image
Every post can have a prominent image. Select ‘Set featured image’, upload your image, and select it. Works great with magazine sites.
Categories
Group your posts into categories. Then maybe create a menu item to link to an archive of all posts that fall into a specific category.
Wrapping it up
What more?
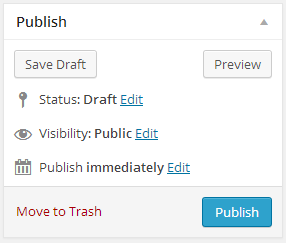
Feel free to play around with any of the options on the posts page. In the event that you publish in a rush and you want to take it back – you can do that! Look for the ‘Revisions’ box and select the version that you want to reinstate. In fact, WordPress will sometimes auto-save a draft every so often just in case you do something you did not want to do or your browser crashes.
You also have an ‘Excerpt’ box. Normally, the archives display some part of the content. However, if you add an excerpt, your excerpt will be used instead. Think about using it — especially if you are not a fan on what WordPress took from your content as the excerpt.
